

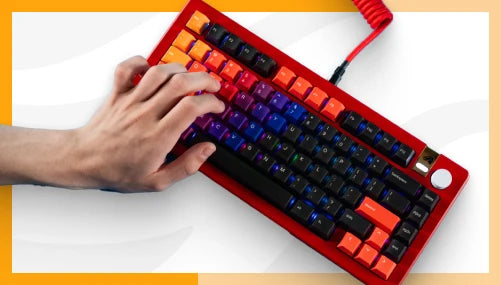

Welcome to the ultimate guide for customizing your GMMK PRO mechanical keyboard. Below, you’ll find a series of dropdowns containing both video and written instructions designed to make personalizing your PRO quick and easy!
The ULTIMATE GMMK PRO Build Guide
Guides & Resources
Jan 31 2023
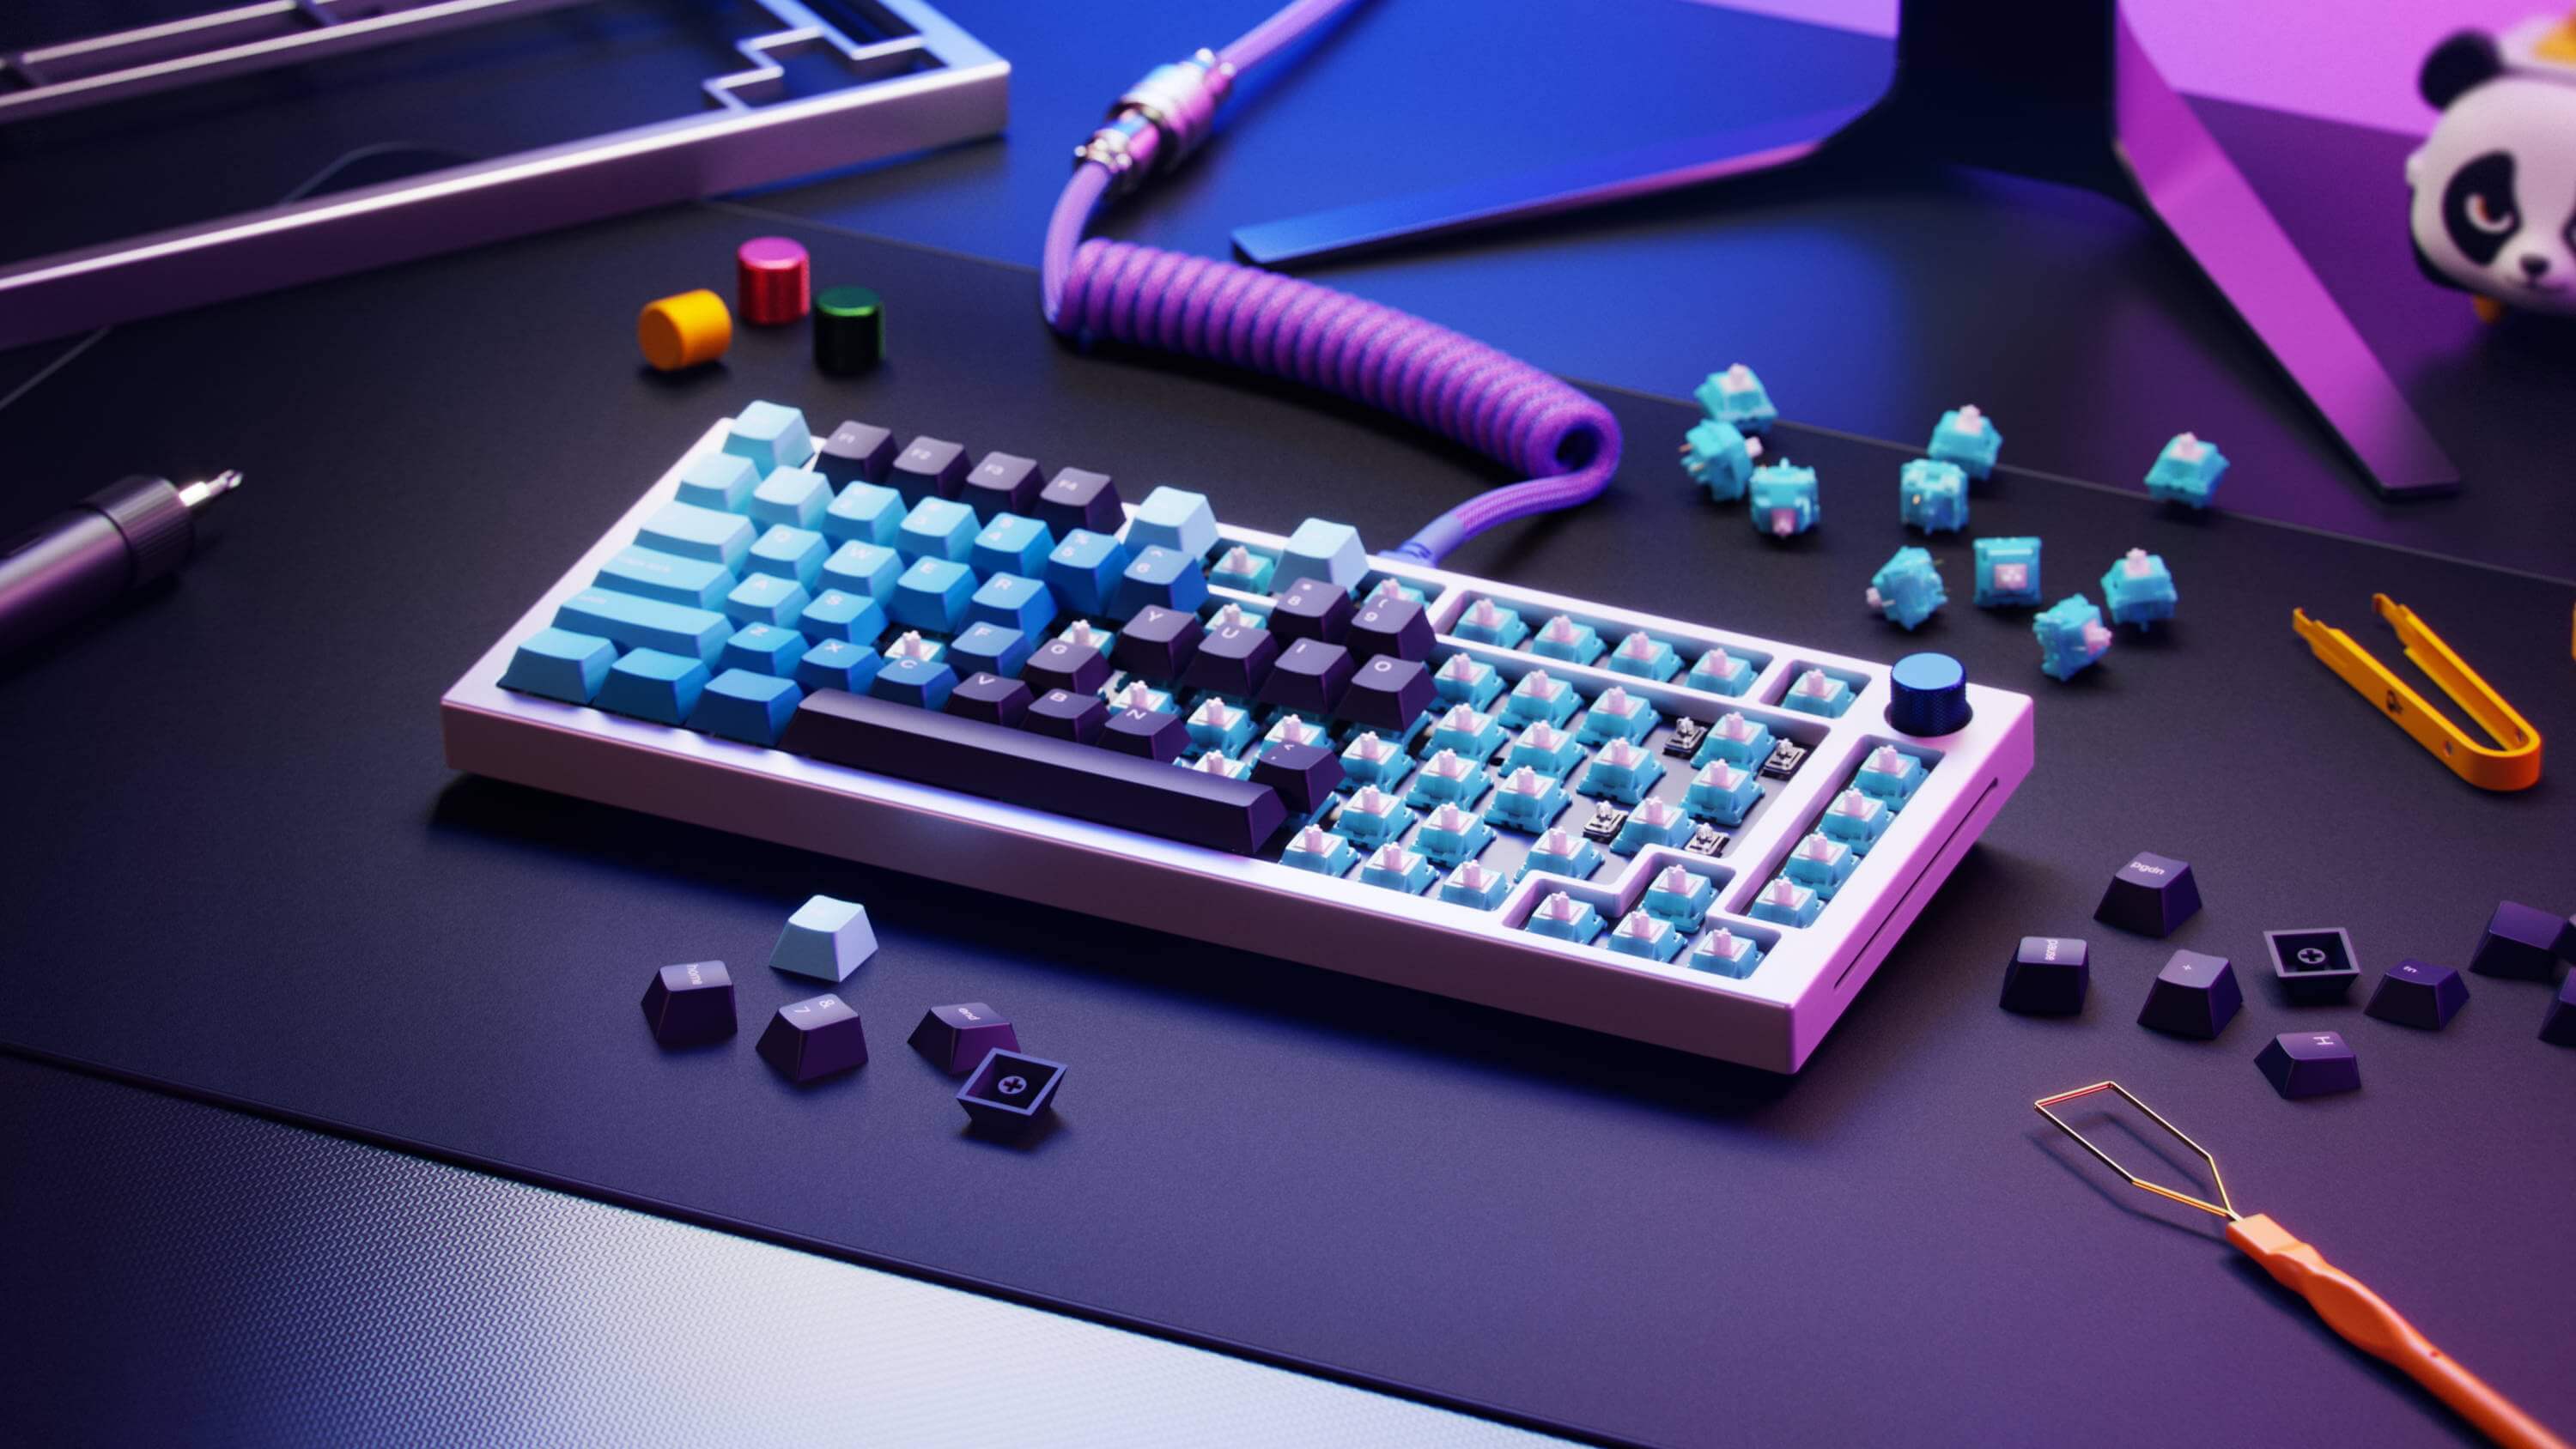
ADDING & REMOVING MECHANICAL SWITCHES
Unlike most gaming keyboards, the GMMK PRO’s mechanical switches are replaceable without the need for special equipment. This is made possible because of its unique “hotswap” design.
What You’ll Need
- 82 x Mechanical Switches (83 for ISO)
- 1 x Switch Puller
- (Optional) 1 x Pair of Tweezers
Installation Steps
1. Find an empty switch socket on the keyboard
2. Grab a mechanical switch
3. Align the pins on the bottom of the switch with the holes in the socket
4. Push the switch straight down into the socket until you hear a click
5. Repeat until the board is filled
Removal Steps
1. Grab the included metal switch puller
2. Position its arms on the north and south sides of the switch
3. Squeeze to push in the switch’s locking clips
4. Pull directly upward until switch is free
Fixing Bent Switch Pins
All mechanical switches feature two thin, copper pins. They are what form a circuit with the keyboard to register a press. These pins may bend during installation, resulting in a switch not responding at all when pressed.
1. Remove the non-responsive switch
2. Check its copper pins on the bottom
3. Use fine tweezers to carefully straighten the bent pin(s)
4. Very carefully reinstall the switch straight down into the socket
5. Re-test the switch
Tips & Tricks
- Place your GMMK PRO on a softer surface, like a deskpad, to reduce the chance of bending switch pins during installation.
- Go slow and gentle when installing switches. If a switch is needing noticeable force to go in, check its pins to ensure they’re not bending.
- Using a site like www.keyboardtester.com while installing switches is the best way to check if they’re working properly. If a switch is not activating, pull it out and check its pins.
ADDING & REMOVING KEYCAPS
Changing the GMMK PRO’s keycaps is an easy way to personalize both its appearance and functionality. All Glorious keycap sets, and most third-party sets, will fit the GMMK PRO.
What You’ll Need
· 1 x Keycap Puller
· 1 x Keycap Set
Installation Steps
1. Make sure your switches are already installed
2. Grab a keycap
3. Press it straight down onto the switch
4. Repeat until the board is filled
5. (For Longer Keys) Evenly press down on each side to ensure the keycap is fully seated.
Removal Steps
1. Grab the included keycap puller
2. Press the puller down over the keycap until the puller’s arms grip the underside
3. Pull directly upward until the keycap is free
4. (For Spacebar) Pull up the left side of the spacebar, then the right side. Don’t pull up from the middle to prevent damage to the keycap.
Tips & Tricks
· Switches may accidentally be removed when pulling off keycaps.
· When removing keycaps, try and arrange them in the same order on your desk. This saves valuable time when you go to put them back on.
SWAPPING ROTARY KNOBS
Replacing the GMMK PRO’s Rotary Knob is completely tool-free. It’s the perfect accessory for making a build more cohesive or adding a fun pop of contrast.
What You’ll Need
· 1 x Glorious Rotary Knob
Removal Steps
1. Brace the top right corner of the board with one hand
2. Grab and pull off the Rotary Knob
Installation Steps
1. Grab a Rotary Knob and look at its underside
2. Locate how the plastic insert is positioned inside the knob
3. Align the Rotary Knob with the exposed metal “post” on the GMMK PRO
4. Press the Rotary Knob firmly into place
5. Tap the Rotary Knob to hear a click, letting you know it’s properly seated
SWAPPING TOP FRAMES
Swapping the GMMK PRO’s included Top Frame with a colorful alternative is incredibly quick and easy.
What You’ll Need
· 1 x GMMK PRO Top Frame
· 1 x Phillips 00 Screwdriver
Removal Steps
1. Flip over the GMMK PRO to reach its underside
2. Use the Phillips screwdriver to remove the 8 case screws
3. Flip the GMMK PRO back over
4. Pull off the Rotary Knob
5. Lift the Top Frame up and set it aside
Installation Steps
1. Place the new Top Frame onto the GMMK PRO
2. Flip over the GMMK PRO to reach its underside
3. Screw in the 8 case screws using the Phillips screwdriver
4. Flip the GMMK PRO back over
5. Plug the Rotary Knob back in
SWAPPING SWITCH PLATES
Changing the material of the GMMK PRO’s plate adjusts how it sounds and feels while typing.
NOTE: Make sure your GMMK PRO is unplugged while removing and installing plates.
What You’ll Need
· 1 x GMMK PRO Switch Plate
· 1 x Phillips 00 Screwdriver
· 1 x Pair of Tweezers (Optional to help remove screws)
Removal Steps
1. Flip over the GMMK PRO to reach its underside
2. Use the Phillips screwdriver to remove the 8 case screws
3. Flip the GMMK PRO back over
4. Pull off the Rotary Knob
5. Lift the Top Frame up and set it aside
6. Gently tilt the plate/PCB assembly up to reach the attached cable
7. Carefully unplug the cable from the back of the PCB
8. Unscrew the 8 plate screws and 4 diffuser screws
9. Flip the GMMK PRO back over
10. Remove the two standoff screws from the front of the plate
11. Lift the plate off
12. Collect the now loose standoffs
Installation Steps
1. Place the new switch plate on the PCB
2. Grab the plate and PCB together and flip them over
3. Screw in the 8 plate screws and 4 diffuser screws
4. Drop the 2 standoffs into place
5. Flip the plate/PCB assembly back over
6. Screw the 2 standoffs back into place
7. Lift up the bottom of the plate/PCB assembly
8. Plug the cable back into place
9. Lower the plate/PCB and place the top frame back on
10. Flip the GMMK PRO over and screw in all 8 case screws
11. Plug the rotary knob back in