


How To Replace the GMMK PRO Top Frame
HOW-TO
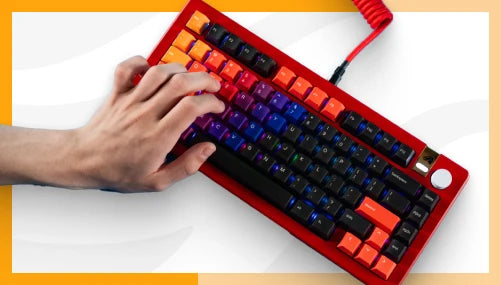
Replace the GMMK PRO Top Frame
Overview
What's in the Box?
• 1× GMMK PRO Top Frame
• 8× Replacement Screws
Tools Needed
• Phillips #00 Screwdriver
• Sorting Dishes for Screws (optional)
Instructions
1. Remove all keycaps from the GMMK PRO and pull out the rotary knob. You don't need to remove the switches.
2. Remove the 8 screws on the bottom of the keyboard using a Phillips #00 screwdriver.
3. Carefully separate the current top frame from the rest of the keyboard.
4. Align the new top frame cutouts with the GMMK PRO and gently set the frame into place.
5. Reassemble the keyboard by replacing the 8 screws on the bottom of the keyboard.
6. Reinstall the keycaps and rotary knob.
Additional Links
Support
Questions or concerns regarding your Glorious keyboard can be directed to our support team.
Note that Glorious is unable to offer comprehensive support for third-party firmware or parts (switches, keycaps, stabilizers, etc.) purchased from other companies
Warranty
Important Notices
• 1-year limited manufacturer warranty
• Small objects could be swallowed.
• Keep out of reach of children below the age of 10.